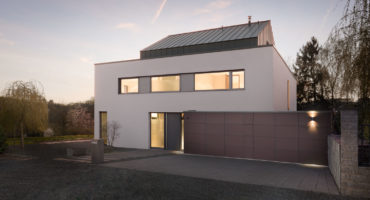
5 Tips, how to take nice interior shots
Do you struggle to take good interior shots? It’s actually not that complicated. Here are 5 Tips, how to take nice interior shots.
Tip 1: Check the angle:
Before you put your camera on a tripod, walk through the room and try every angle possible.
Start in every corner and try a two point perspective, when possible.
Tip 2: Use a tripod:
The single most important gear next to the camera. In interiors, you are always dealing with challenging lighting conditions.
Very often you have to composite an image from many pictures, or take longer shutter speeds.
That doesn’t work handheld and you don’t want to place your camera on some shaky furniture.
Tip 3: Don’t go to wide:
Yes, ultra-wide angle lenses are great, because they can show even small spaces.
But there is a downside, they distort the room like crazy, especially at the edges.
So furniture will have weird shapes when you are to wider or the proportions are off.
With a full-frame sensor don’t go wider than 17mm!
24mm is mostly the sweet spot.
Tip 4: Use manual white balance.
In the beginning, I always relied on the automatic white balance of my camera.
Since I was shooting RAW, I thought, I can fix stuff in post.
Which is true, but if you mix natural light with ambient light, things can get nasty.
I often add flash as well, so things can get a real mess and just tedious hours in Photoshop can save you work.
By setting your white balance manually you have a fix point to start and see the different colour temperatures of ambient- and flash light immediately.
It’s easier to fix these problems with filters than in later in post.
Tip 5: Shoot RAW.
I can’t stress this enough, but if you are on location things can get stressful easy.
The chance to make mistakes in terms of colour temperature or exposure happen quickly.
It happened to me all the time and still happens from time to time.
With a RAW image you have another safety net.
There is nothing worse than ask a client or the owner of the building to arrange a reshooting.


