5 Tips how to improve your drone photography
1. Know your gear!
Every photographer should know all the capabilities of their camera gear. Where are the limits and which settings are best to achieve great results.
I have to admit specs are not everything. You can take pretty amazing pictures with mediocre cameras but you should still know how your camera performs in certain conditions. The common drone cameras are quite different to a professional DSLRs for instance. You can’t swap lenses and you have a fairly small sensor size, so low light performance is not the best. You want to keep your ISO as low as possible to have noise free images.
If you have the DJI Phantom 4 Pro, you can actually change your aperture setting. Many of the other consumer have a fixed aperture of f2 or f2.2, which means that there is a noticeable drop-off in sharpness. The “dehaze” function comes in handy when using Lightroom or Adobe Camera RAW. You can as well just shoot straight down to deal with the sharpness issue and could be a unique style of your own drone photography.
2. Shoot in RAW
I don’t recommend that just for drone photography, in my projects I should always RAW. I know it requires post processing but you can adjust the image to your taste without sacrificing quality. This is a huge deal! When you messed up exposure or white balance you can correct that easily. You need a bit more dynamic range? No problem, use crank down the highlights and the shadows‘ slider a bit further.
Maybe, you wanna get creative with split toning to get that teal and orange look you like or you have a LUT to start with? Easy with a RAW-image, you preserve all these options. Try that on a jpg and you immediately see the limitations of the compressed file format. Don’t get me wrong! There are a lot of situations, where the quality of a jpg is more convenient but at least shoot both just to have the safety net. Many drones support that option nowadays. Storage is not expensive compared to an unusable you might sell to a client.
3. Use Tripod Mode
I’m a huge fan of flying my drone manually and never looked too much into the different flight modes. Just recently, after a few updates of my Phantom 4, I noticed that they added a lot of new intelligent flight modes.
I was more into the following mode for video but then I detected the tripod mode. I have to say it is just amazing for video and drone photography! Turn it on and your drone is as stable as a rock. You can even take long exposure shots of up to 6 or 8 seconds with a drone in windy conditions. Just mind-boggling!
4. Shoot bracketed images
A small sensor doesn’t just have drawbacks in terms of low light capabilities, it also limits your dynamic range. If you have really bright and dark areas in your photo, images of small sensors tend to blow out quickly even when shooting RAW! OK, what does that mean? The sensor can’t cope with big exposure differences. Bright areas will be white and dark areas loose detail. When you shoot bracketed, the camera makes a normal exposed image as well as under- and overexposed images. In post, you composite everything together by using the shadow areas of the overexposed images and the bright areas of the underexposed photos. You have to learn some basics in Photoshop to get decent results but it is worth it.
5. Use a polarizing filter
A polariser can manage reflections on glass and water as well as darken the sky or make colours pop. It works best when used in a 90° angle to the sun. On a drone you have to rotate it on ground and then fly upwards to take the image.
ND-Filters are not bad either, they are more useful for video, because you can control your shutter speed to keep that cinematic motion blur. With tripod mode you could make a long exposure shot during daylight in order to get make the water smooth, for this situation an ND-Filter comes in handy for drone photography, too.
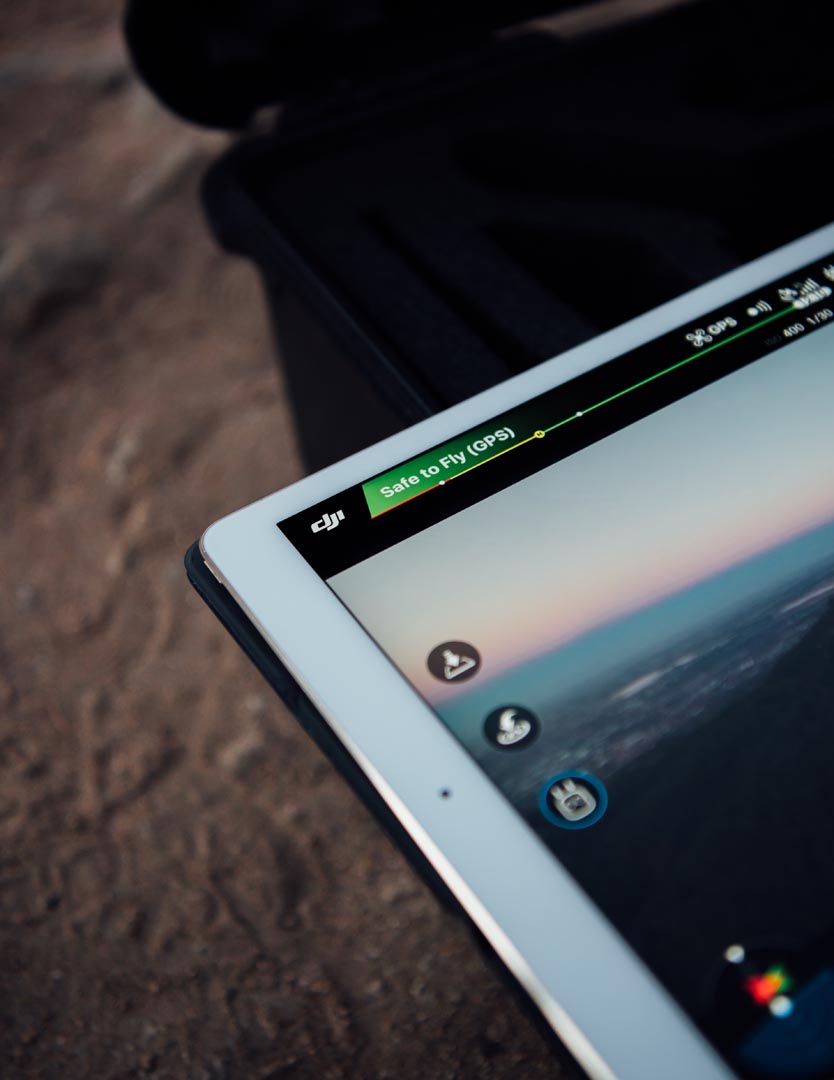
Bonus: Always bring spare batteries and plan your shots ahead.
Plan your shoots ahead! I can’t stress this enough. When I first got my drone, I only had one battery because these spare ones were too expensive for me! I do a lot of clients work and recognized fast that it is crucial to get everything out of the 23 – 25 minutes of airtime. I planned my shots very carefully before I even started my drone. Then I used the pre planned flight routes to take my images and video clips!
Fortunately, I was able to afford a spare battery soon which made life so much easier. It happened so many times that I misinterpreted the amount of images I needed for a project and was out of juice in no time. It’s a pain if you have to wait to recharge or don’t have the possibility to plug-in the charger anywhere. It’s a good investment for your drone photography, believe me!!
– Dominik Berg –